THE FIRST CIGAR CARVING
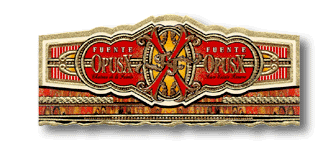
I wanted my first personal carving to be aesthetically pleasing and have meaning to it. I had been smoking cigars fairly regularly since high school. My first really memorable cigars was a Romeo y Julieta Cedros De Luxe No. 1 that I smoked freshman year at Furman. I was hooked! My local cigar shop back home in NJ was primarily a Fuente store. The shop was called Enrico's Cigar Hideaway, and yes, they spoiled me rotten. While I couldn't get my hands on the Cubans that had gotten me hooked, the Fuente smokes that I bought at Enrico's were phenomenal. On occasion, I would treat myself to an Opus X, Fuente's super-premium line. The cigar label that was ever so carefully wrapped around these cigars is an absolute masterpiece...intertwined letters, gold beading, rich reds and oranges, all printed on thick embossed paper.
Not only were the cigars fantactic and the label amazing, the family behind the cigars was a story in itself. The Fuente family has been spotlighted several times by Cigar Aficionado and other magazines. Their journey of building the Fuente legacy is quite an awe-inspiring tale. A perfect subject in all respects!
OPUS X: ALMOST THERE
By freehand, I drew out the Fuente Fuente Opus X label on a sheet of MDF enlarged to 30" across. My first attempt at a cigar label had gone quite well in the carving process. My only downfall was that I decided to carve almost EVERYTHING. While it made for a beautiful carving, it took forever to complete.
Once completed, I began the process of painting it. As if the carving wasn't difficult enough, the painting was just as painstaking of a process. Getting the colors right was quite a task, but it was obvious that Carlito Fuente put a lot of effort into them by the result.
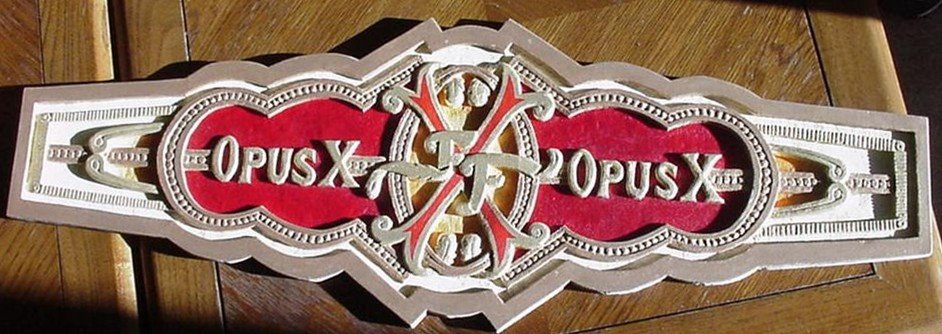
I had only finished painting the carved portions (as seen above), when I decided to bring the carving by Enrico's Cigar Hideaway. Since they are primarily a Fuente shop, I figured they would enjoy seeing it. Within ten seconds of walking in the door with the carving under one of my arms, the man behind the counter said "I'll give you $1200 for it!" While selling it was the last thing that was on my mind, I was quite shocked and flattered by the offer.
Up until this point, the carving had been a typical piece of art for me. I knew all of its flaws and wasn't completely happy with the piece. Maybe I was missing the forest for the trees. After the offer for the piece was floated, it was then that I knew I was onto something.
OPUS X: THE FINISHED PRODUCT
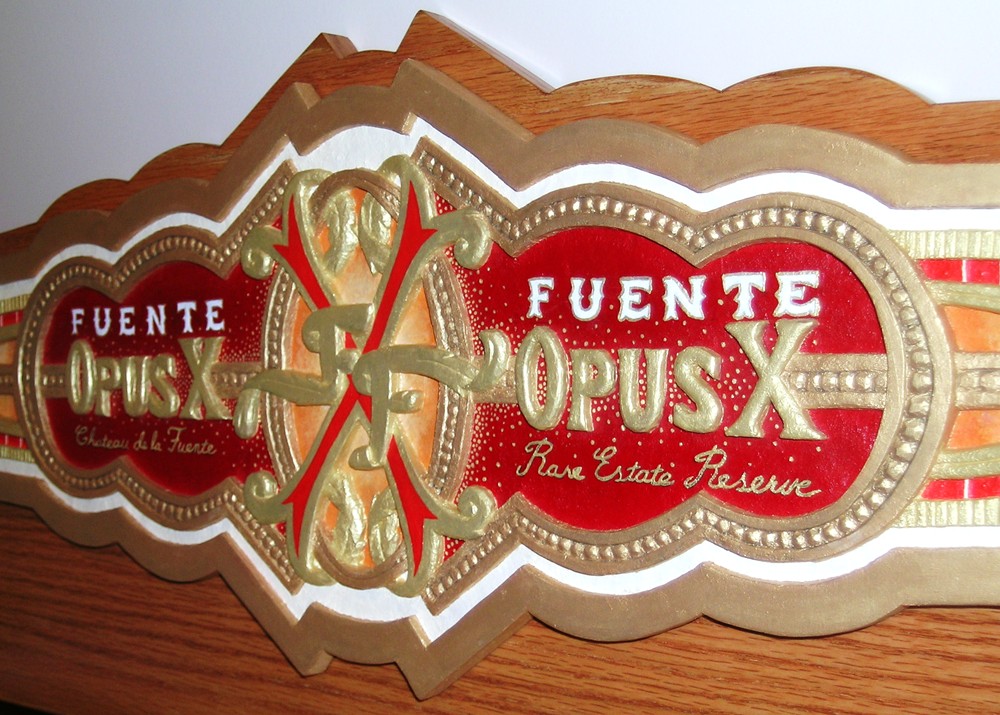
Although it took over a year, the finished product was worth all the work. One of the things I wanted to do with the carving was have it signed by the Fuente's (Carlos, Carlito, and the rest of the gang). There was no room on the carving itself for signing and no way to attach hardware for hanging without risking the integrity of the already thin releif carving. After much thought of how to make it hangable and signable, I mounted the carving on a piece of red oak. I couldn't find a board big enough for the carving, so I used red oak plywood and veneer edging. Once stained, I sealed it with a satin polyurethane.


The next step: tracking down the Fuente's with Sharpie in hand!
_____________________________________________
I think it's obvious by now that I am drawn to the Opus X label design. Among the thousands of labels out there, it is hands down one of the best designs. I decided to try my hand at a second peice of Opus X work just focusing on the intertwined letters in the center of the label.
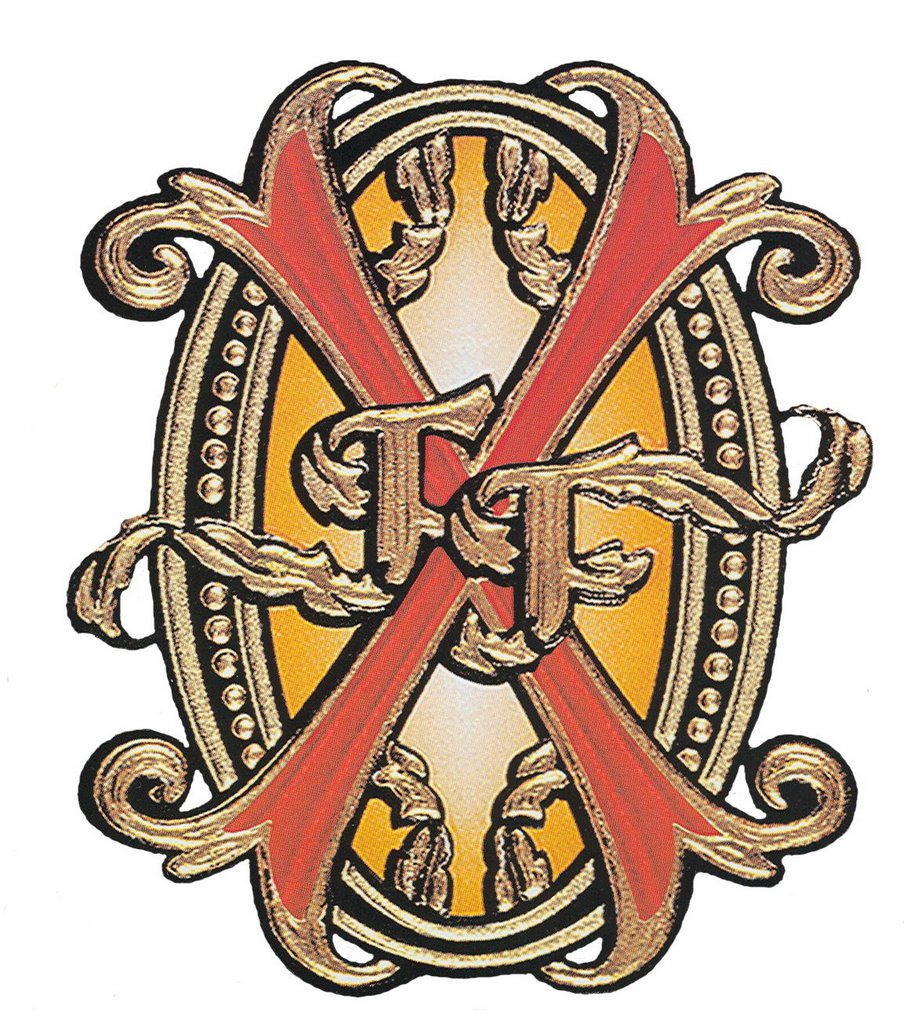
This artwork was taken from the back cover of the Prometheus DVD collector set. The whole Opus X label is so ornate, the center letters almost seem to get lost. Pulling the letters out of the design and allowing them to be free-standing really lets you see the beauty of that design.
I decided to try something different and carve the letters free-standing instead of in label form. The Celtic heart I carved for my good friend's marriage was very similar and was probably the inspiration for this piece.
OPUS X #2
It's about time I showed how I actually make my carvings. I use 3'x5' sheets of MDF (medium density fiberboard) instead of wood. Once the basic outline is drawn, the first step is cutting the outline of the piece with a handsaw, skillsaw or a drill (and in once case, using only hand tools). Once the outline is cut out, I finish drawing how I want to carve the piece. Sometimes I get nearsighted in the carving process and forget which layer goes where so it helps to have pencil markings reminding me of what to do.
The carving process is actually quite simple in nature. The idea of a relief carving is creating depth between two layers side-by-side such that one appears to be closer and one farther away. In this instance, the "X" is supposed to be on top of the "O", except for the scrolling which goes underneath the "O". By alternating over and under, one can create the appearance of once letter wrapping around the other from a solid piece of "wood".

The top of the design is not carved in the photo, it is simply drawn on. As you look toward the bottom of the piece, more of the carving process is complete. People often ask if the carvings are one piece or if I carved the letters out separately. This is part of the beauty of relief carving. Utilizing this type of carving allows one to take a single 3/4" piece of solid material and create the illusion of letters actually curving and wrapping around each other.
In the photo you can catch a glimpse of my tool arsenal. People also always ask how many carving knives I use to get all of those curves and shapes. What's your guess? I'll give you a hint: They are all in the photo.Sorry to disappoint, but I only use a square blade and an exacto knife (99.9% of the time). This tends to disturb people because neither of them have curved blades while much of my work does. I find it easier to stick with one knife instead of constantly switching back and forth between seven knives of various shapes and sizes. Not to mention, I have a hard enough problem keeping track of these two knives. Using solely straight blades, you are forced to be deliberate in your carving as your hand learns to move as if it were a curved blade.

Here's a side shot of the bare carving. Still a little rough in some spots but nearly complete. With this side shot you get a feel for how thin the carving actually is. Time for a little more fine work and then the painting begins.
OPUS X #2
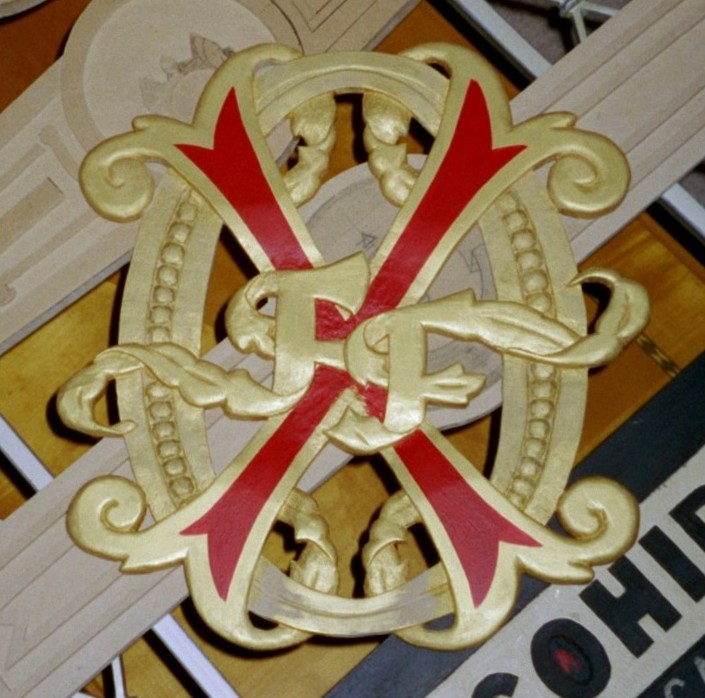
The (nearly) finished product. There are still a few small spots that need painting, but the carving is complete. I have a feeling I am going to revisit this piece later and create a sister carving that I could put on the backside to allow the carving to be hung and seen from both sides. Easier said than done, but I think it would make this piece a lot more interesting. We'll see if I can find the time to get back to it.
If you look closely you can see my next three carvings in the background. If you can't tell what they are, I've got a Camacho, Cohiba(DR), and a Nat Sherman. (Yes I've been multi-tasking and VERY busy!)
THE RETURN OF OPUS X
 This has been a project that has been in the works for several years now. It started as just a front piece. Then I decided to give it a carved back as well so the carving could be displayed in such a way that it was visible from both sides. But I still wasn't sure exactly how it should be presented...until now.
 *Photo of carving dated 2004
Though I'll leave my vision a surprise for now, I wanted to show everyone the current state of the carving. I might actually be donating this piece for auction as a fundraiser for the Cigar Family Charitable Foundation and their school in the Dominican Republic. (www.cf-cf.org)


No comments:
Post a Comment